

C made flowers... basically as many as she could fit on her paper. S made an interesting abstract array of pieces that still looked fairly well thought out. M mostly got practice using a paintbrush to apply diluted glue to pieces of paper, so hers was a bit of a mess. They’ve hung on the freezer door ever since, because I find them so interesting.
In the summer, we painted bird houses. But now it’s fall and it’s time for something different. We made fall leaf sun catchers, and it was fun for my five-year-olds and easy enough that my two-year-old could make one of her own.
Things you need:
crayon shavings (sharpen some crayons to get nice, thin shavings)
waxed paper
black construction paper
leaf shape template (we used this one)
glue
scissors
iron (additionally, ironing board and towel)
How we did it:
1. Pick out colors - We let the kids help us choose colors for the leaves, after we talked about what happens to leaves in the fall. We tried to guide them toward picking colors that leaves might actually be by showing them pictures, since autumn colors haven’t really begun to show here. They chose brown, purple, red, orange, and yellow.
I got out five pinch bowls and let them help me choose three crayons from each color group to gather shavings from. These color-picking steps were fun and educational for my two-year-old as I don’t think she thinks much about how many different shades of purple there are.
2. Sharpen crayons - For this, we sent the kids to play. After letting them pick three of each color, we stuck ourselves with 15 crayons to sharpen, dropping the shavings into color-separate bowls. But we had time, and this is easily accomplished with two sets of grown-up hands and some conversation.
3. Print and cut a leaf template - This can be your first step if you want. I’m glad I did it after the crayon sharpening because cutting the leaf shape out with my x-acto knife made the pad of my thumb hurt a bit.
I used scissors to cut a square around the leaf template, with a bit of space between each point of the leaf and the edge of the paper. Then, using that square as a guide, I cut similar squares from black construction paper and waxed paper.
You will need two squares of construction paper, and two sheets of waxed paper, for every leaf.
Next, I used my X-acto knife to cut the leaf shape out of the center of the construction paper. Only cut the leaf shape out of the construction paper, not the waxed paper. You can use scissors, but I suggest using a simpler leaf shape than the one I provided if that is your plan. I started out thinking I was going to use scissors on my maple leaf with all of it’s wiggly lines. That... did not happen.
 Tips
- I recommend making your waxed paper squares bigger than your
construction paper squares so the melted crayon doesn’t seep out of the
edges. You can always trim it later. Also, use a clip of some kind to
hold the waxed paper to the template while you cut it. Waxed paper is
unruly and annoying in certain ways.
Tips
- I recommend making your waxed paper squares bigger than your
construction paper squares so the melted crayon doesn’t seep out of the
edges. You can always trim it later. Also, use a clip of some kind to
hold the waxed paper to the template while you cut it. Waxed paper is
unruly and annoying in certain ways.4. Scatter the colors - We brought the kids back for this, and did it on the ironing board, so we wouldn’t have to move it after they had arranged their colors. They sat on dining chair and scattered the colors they chose onto one piece of flat waxed paper, and spread them out how they wanted.
Tips - Don’t let one area get too thick with crayon shavings or it will take a long time to melt. Use the construction paper leaf cut-out as a guide to show your kids where the crayons shaving should be on the waxed paper, so they don’t end up disappointed that you can’t see all the yellow they put in the far corners.
 |
| Remember - Two waxed papers |
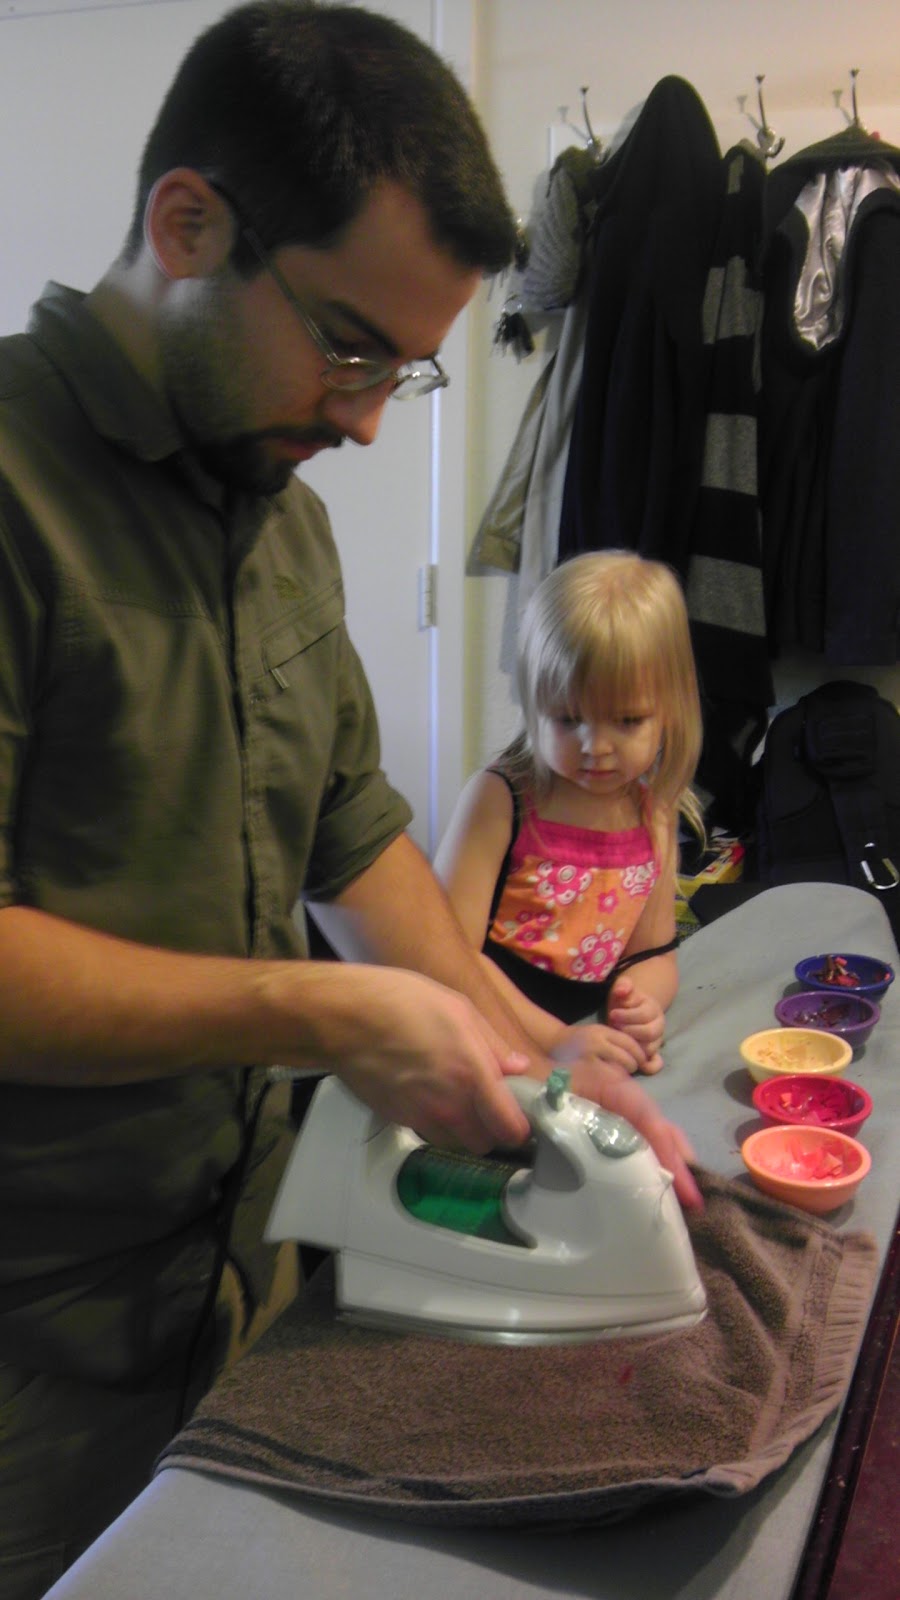
5. Sandwich and iron - This is grown-ups only. We let the kids watch, but at the other end of the ironing board. We placed the second square of waxed paper on top of the crayon shavings (now we have crayon shavings between two squares of waxed paper. If you don’t... redo step 4). Then, we carefully draped a hand towel that we didn’t particularly care about (incase it got wax on it) over the top, and ironed it.
We had our iron on a very low setting at first, but getting to warm the wax all the way through the towel was a bit of a chore. Turning it up to about a medium setting seemed to be just right. Test what works for you. It shouldn’t take more than a couple of minutes to melt all of the wax nicely.
6. Apply construction paper - Once the wax had dried back to a solid state (within a few minutes), we lined up the construction paper leaf cut-outs on either side of the wax paper by holding it up to the light to be sure we got them straight. Then I used clothespins to hold all of the pieces together in that position while I glued them.
You might be able to let your kids do this, but I wasn’t confident in my kids’ ability to be conservative with the glue. I dried them between books for the first few hours to make sure the paper didn’t ripple
 too
much, so avoiding glue spills was important.
too
much, so avoiding glue spills was important.7. Trim - Once they were dry (or at least mostly dry), we trimmed the edges to make nice squares with no waxed paper showing. This is also something kids could do, with appropriate scissors of course, but mine are a bit crazy with the scissors and go overboard with excitement. So, grown-ups did this.
This project really didn’t take very long, and clean up was so easy. All of the mess (what little there was) was dry. Crayon shavings and paper trimmings were an easy fix. Then I just had to put the iron and ironing board away and toss the towel in the laundry. No messy kids, no glitter, no weird substances of questionable origin.

Hello and welcome to NOBH! Your leaf sun catchers are beautiful! We have always used tissue paper, but never crayon shavings. Thanks for sharing with us here at NOBH! We hope you stay around and not only link up with us, but check out what others are linking up too!
ReplyDeleteI've been browsing the homeschool blogs already. :) I have so much tissue paper, I'm thinking about using clear contact paper and tissue paper to make a sun catcher of some kind. I just don't have contact paper yet. Thanks for stopping by!
Delete